How to create an Azure SQL Server VM using CLI.
Date created: March 25, 2019.
On this article, you will find step-by-step instructions on how to install
Azure CLI and how to make use of it to install an Azure SQL Server VM.
The Azure CLI 2.0 is a command-line tool that provides a great experience for
managing Azure resources and is designed to make scripting easy.
Let's start by installing CLI from
this URL. It can be installed on Windows, macOS and Linux.
Once CLI has been downloaded make a double click on it and it will start to
install.
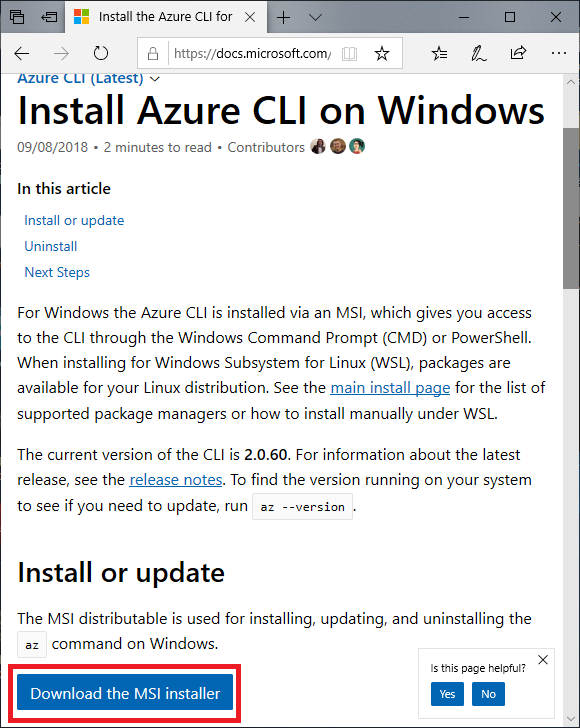
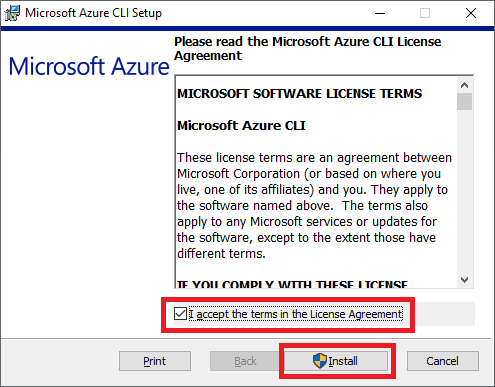
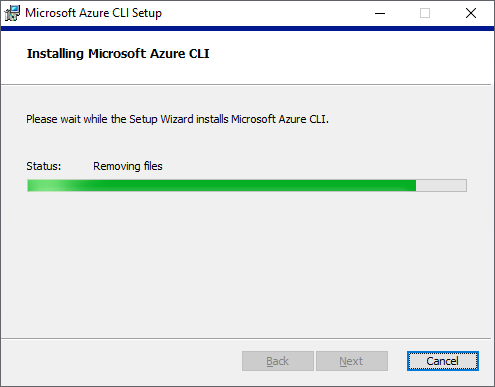
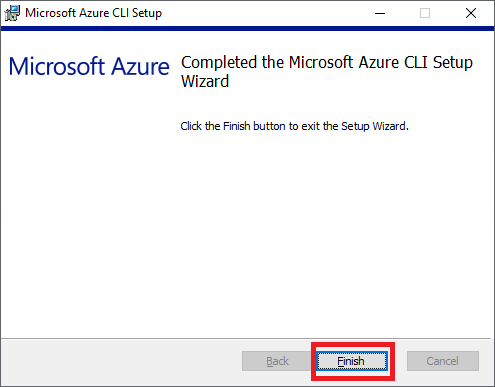
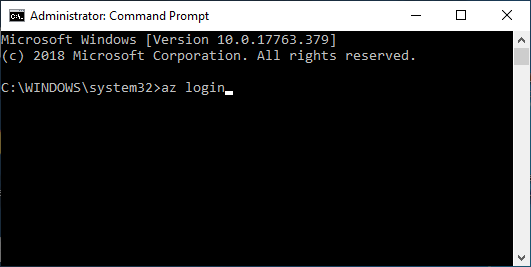
Now tha Azure CLI has been installed, let's now login to Azure using CLI as shown on the following image. The "az
login" command will invoke a Web Browser to provide credentials to login to
Azure.
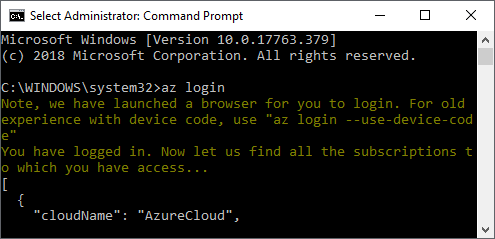
Once the login process has finished successfully, information about all
subscriptions associated with your Microsoft account will be displayed.
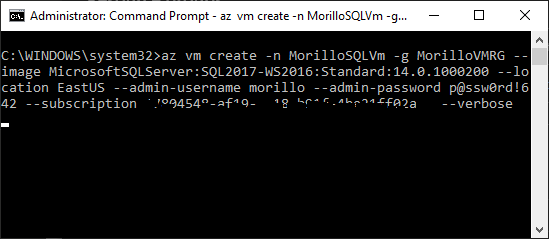
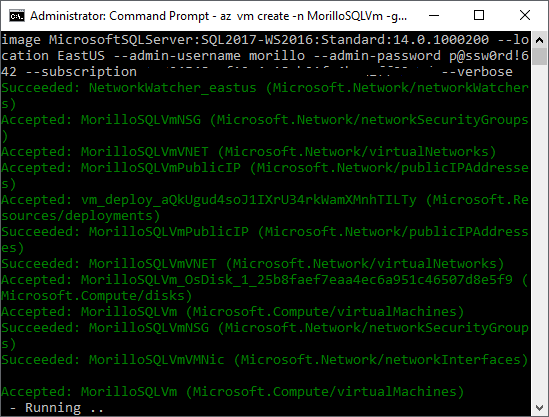
Now let's write a CLI command to create an Azure SQL Server VM with the
following list of parameters and options:
The -n option specifies the name of the VM
The -g option specifies the name of the Resource Group
The --image option specifies the name of the operating system image
The --location option specifies the name of the location/region the VM will be
located
The --admin-username option specifies the login name of the Administrator for
the VM
The --admin-password option specifies the password you would like to assign to
the Administrator login
The --subscription parameter is only needed if you have multiple subscriptions
associated to one Microsoft account. I masked my subscription Id for obvious
reasons.
The --verbose parameter is used for increased logging verbosity.
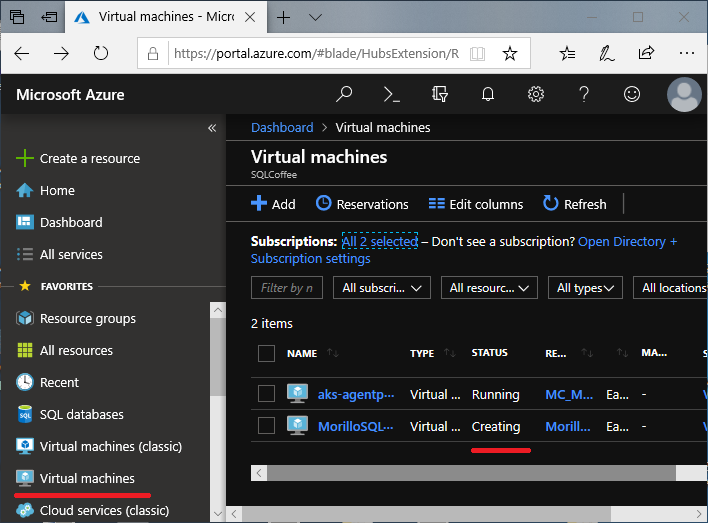
Once the command has been submitted, we found on Azure portal the VM creation is
in progress as shown below:
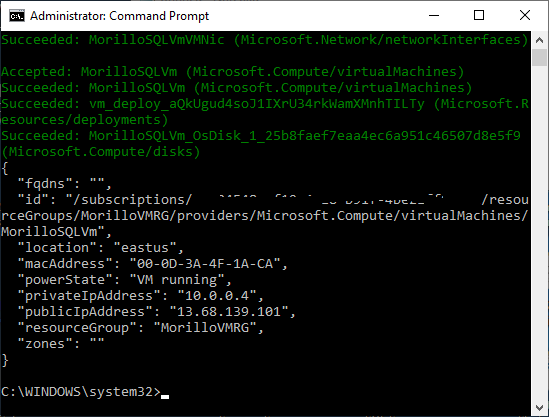
The command it self is showing its progress creating objects related to the new
VM.
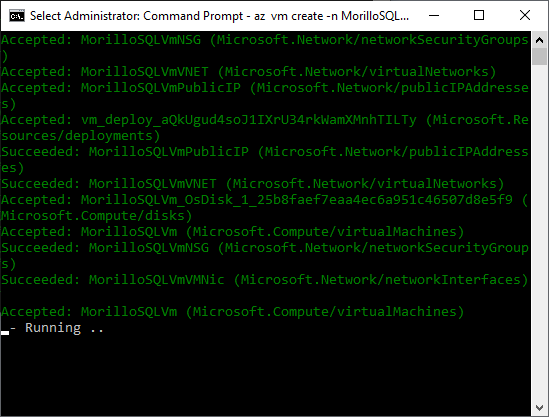
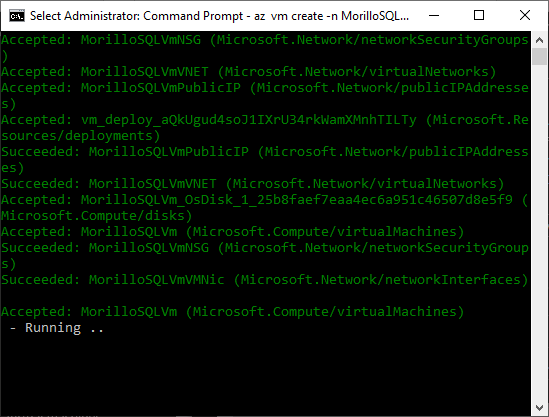
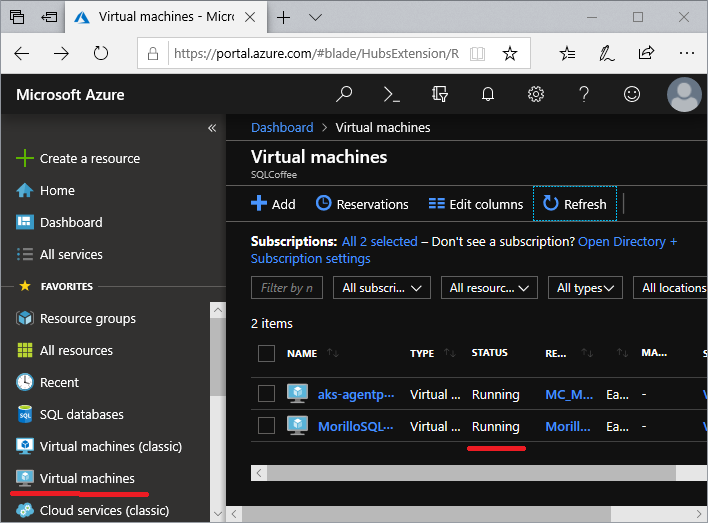
A few minutes later, the command will succeed and the VM will be up and running.
![[Company Logo Image]](images/SQLCofee.jpg)
