How to Add Features to a SQL Server Instance.
Applies to: Microsoft SQL Server 2008 R2.
The following procedure will allow you to add new features or functionalities to
an existing SQL Server instance installed on a standalone computer:
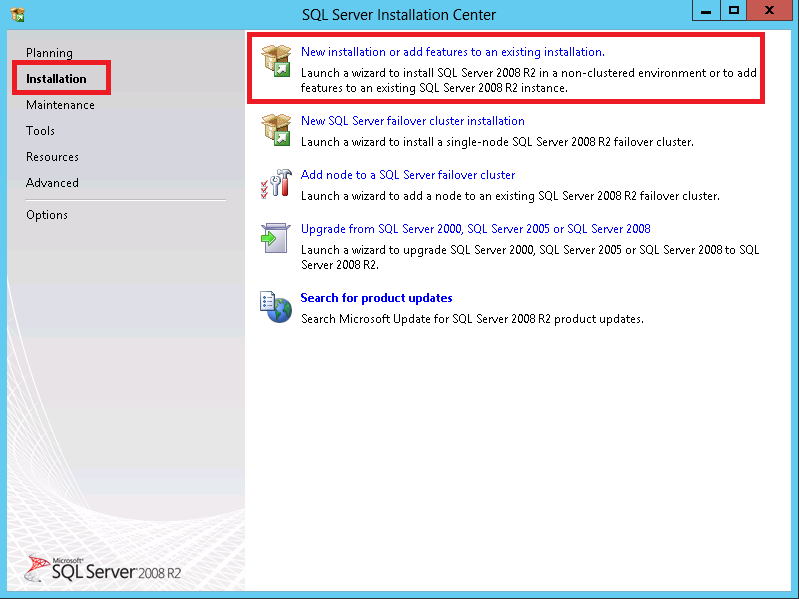
1. Run SQL Server Setup. Make a click on the "Installation" hyperlink in the left
side of the screen and select the
first type available "New SQL Server stand-alone installation or add features to
an existing installation".
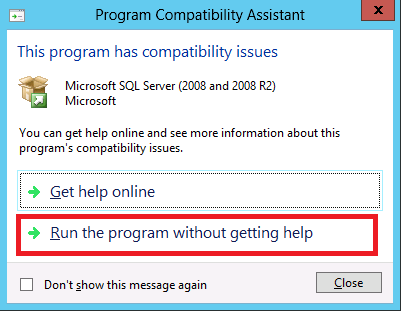
2. If the below screen shows up, click on the "Run the program without getting
help". After SQL Server setup finish installing the new feature, reinstall the
last service pack you installed on the existing instance and all cumulative
updates and fixes you installed after applying the last service pack. This way
al features will be on the same build and ready to be updated with new updates
on the future.
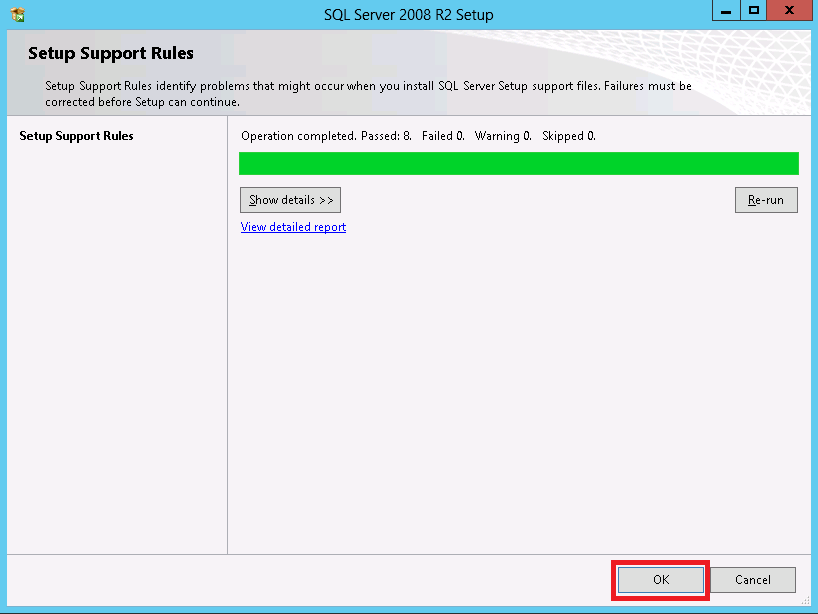
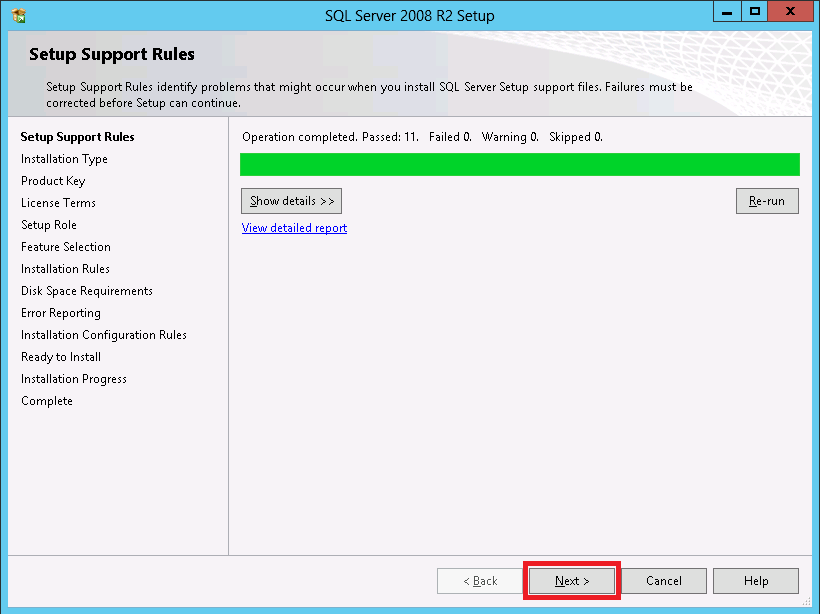
3. Below you will find the first set of Setup Support Rules. The Next button is
available only if all check results are successful, or if failed checks do not
block installation.
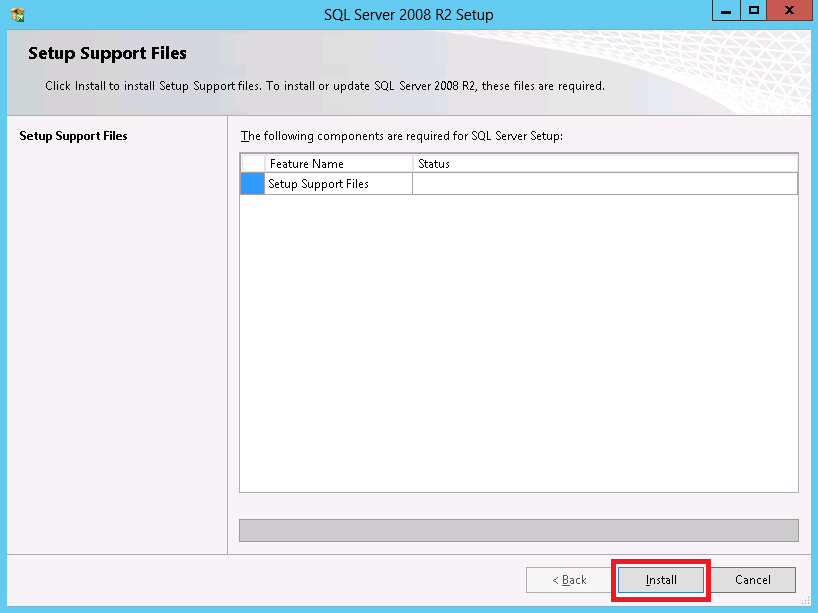
4.
On the following page, setup is installing a required component. Make a click on
the "Install" button.
5. Below you will find the second set of Setup Support Rules. The Next button is
available only if all check results are successful, or if failed checks do not
block installation.
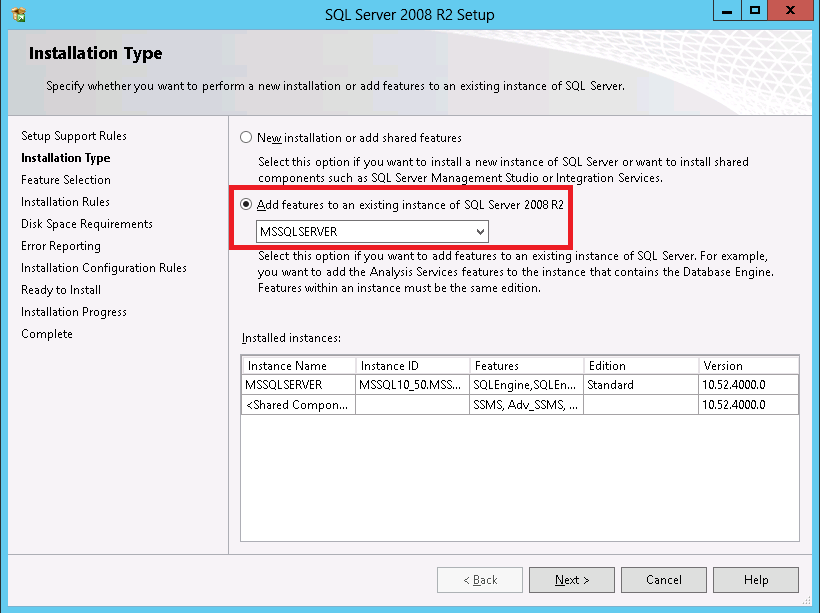
6. On the "Installation Type" screen, choose the name of the instance you
want to add the new feature. Choose MSSQLSERVER as the name for a default
instance. You can have 50 instances on a standalone computer.
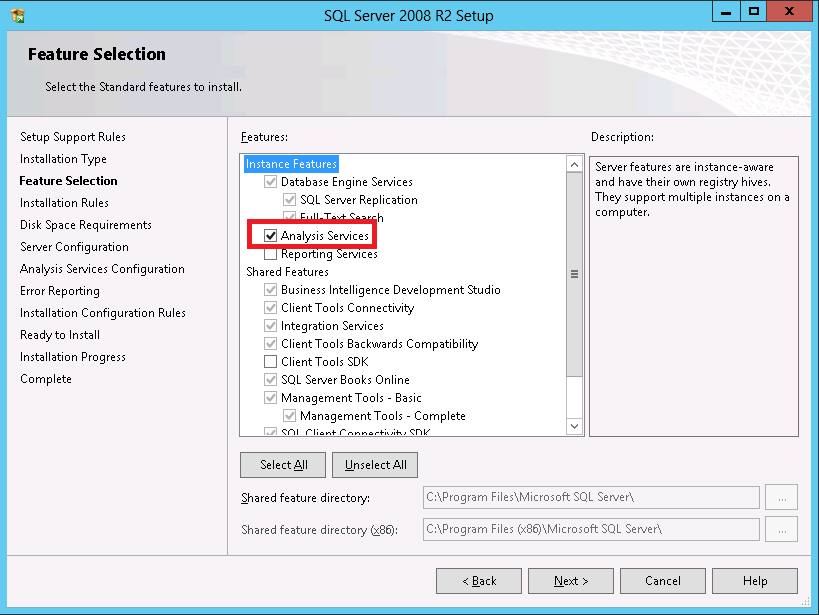
7. On the SQL Server Setup page shown below, you can decide to install new
features of SQL Server. You will find grayed out all features already installed.
A description for each component appears in the right-hand pane after you select
the feature name.
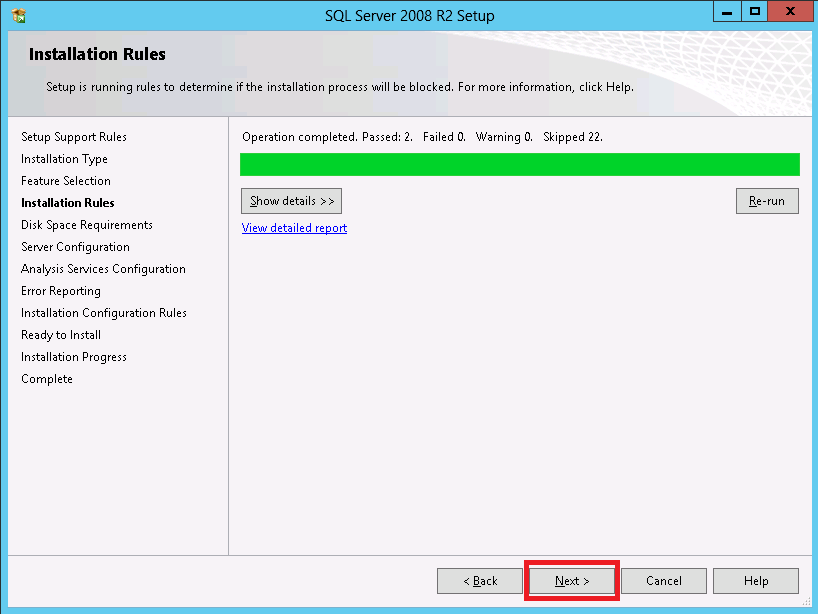
8.
The page below belongs to the Installation Rules. The third set of rules that
setup evaluates for deciding to allow or block the installation. Click on the
Next button.
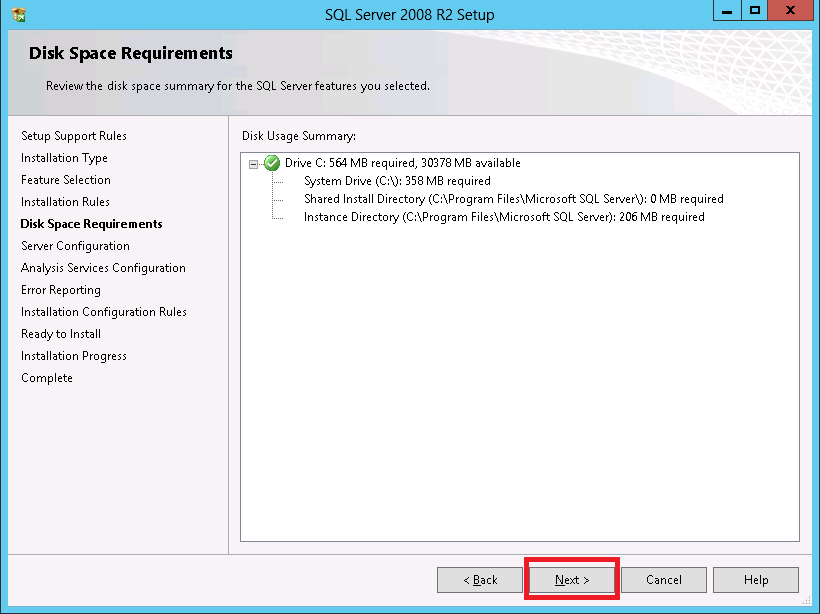
9.
The "Disk Space Requirements" page is just for the purpose of reviewing disk usage. Click on the
"Next" button to continue setup.
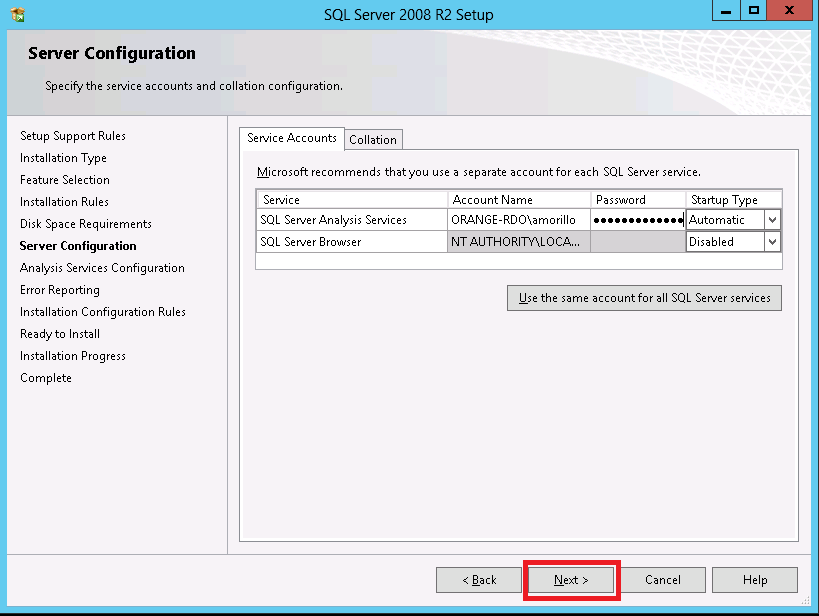
10. On the Server Configuration, you should specify login accounts for SQL
Server services. To know about the choices available and what option to choose
for specific scenarios please click here.
11.
On this page, provide user accounts that will be Analysis Services
administrators.

12.
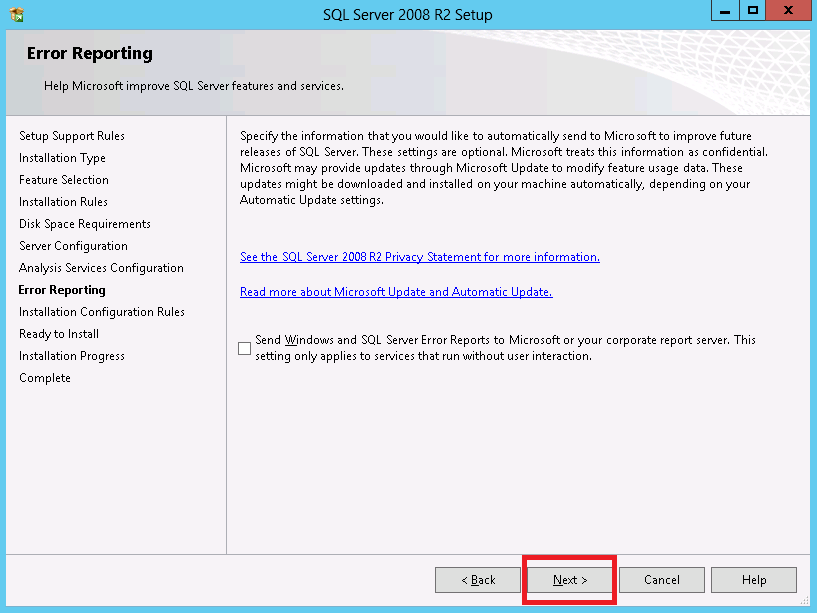
On the Error and Usage Reporting page, optionally clear each check box to
disable error reporting.
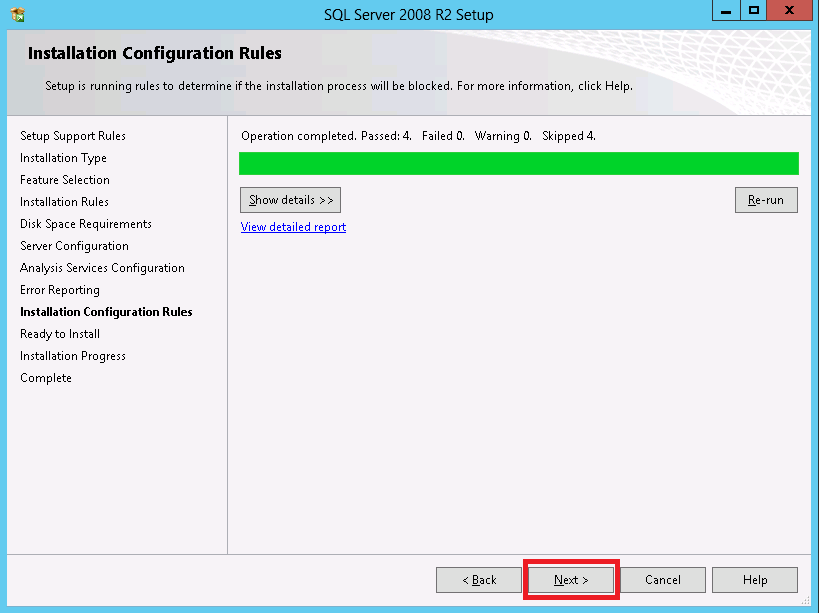
13.
The above screens belong to the Installation Configuration Rules.
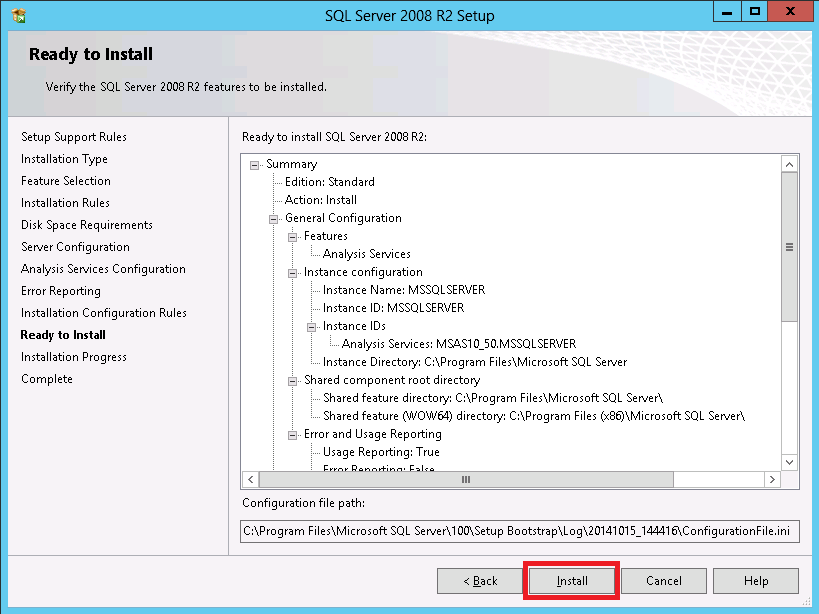
14.
On the Ready to Install page, review the summary of features and components for
your SQL Server installation. To proceed, click Install.
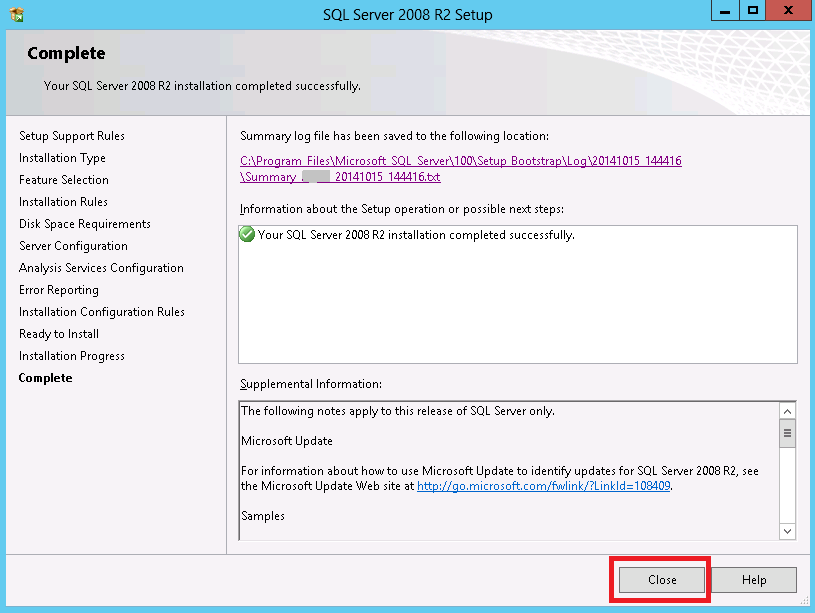
15. On the Complete page, you can
view the Setup summary log by clicking the link provided on this page. To exit
the SQL Server Installation Wizard, click Close.
![[Company Logo Image]](images/SQLCofee.jpg)
